
Prototyping
Creating a prototype can help you visualize a flow or design better. It can be used in a client meeting to tell the story of the user's journey when testing with users or to just give the team a better idea of the user experience.
Creating a prototype
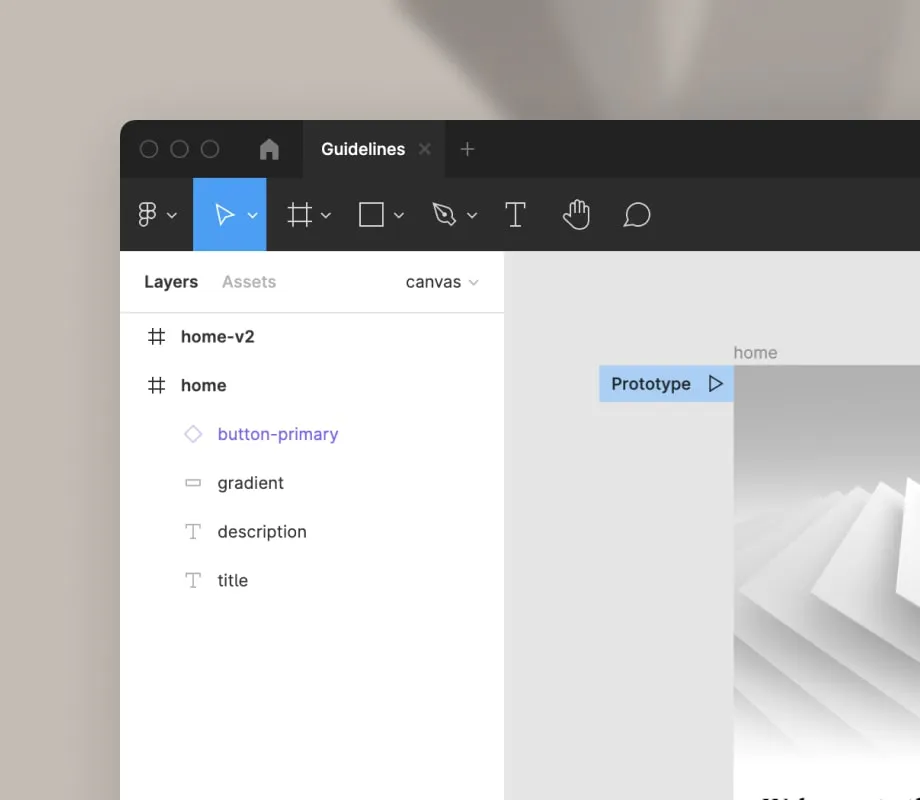
First, create the designs or prototypes as you normally do. When you're done creating all screens, select Prototype and start creating links between pages.
Good to know
Each page in a file is a separate prototype.
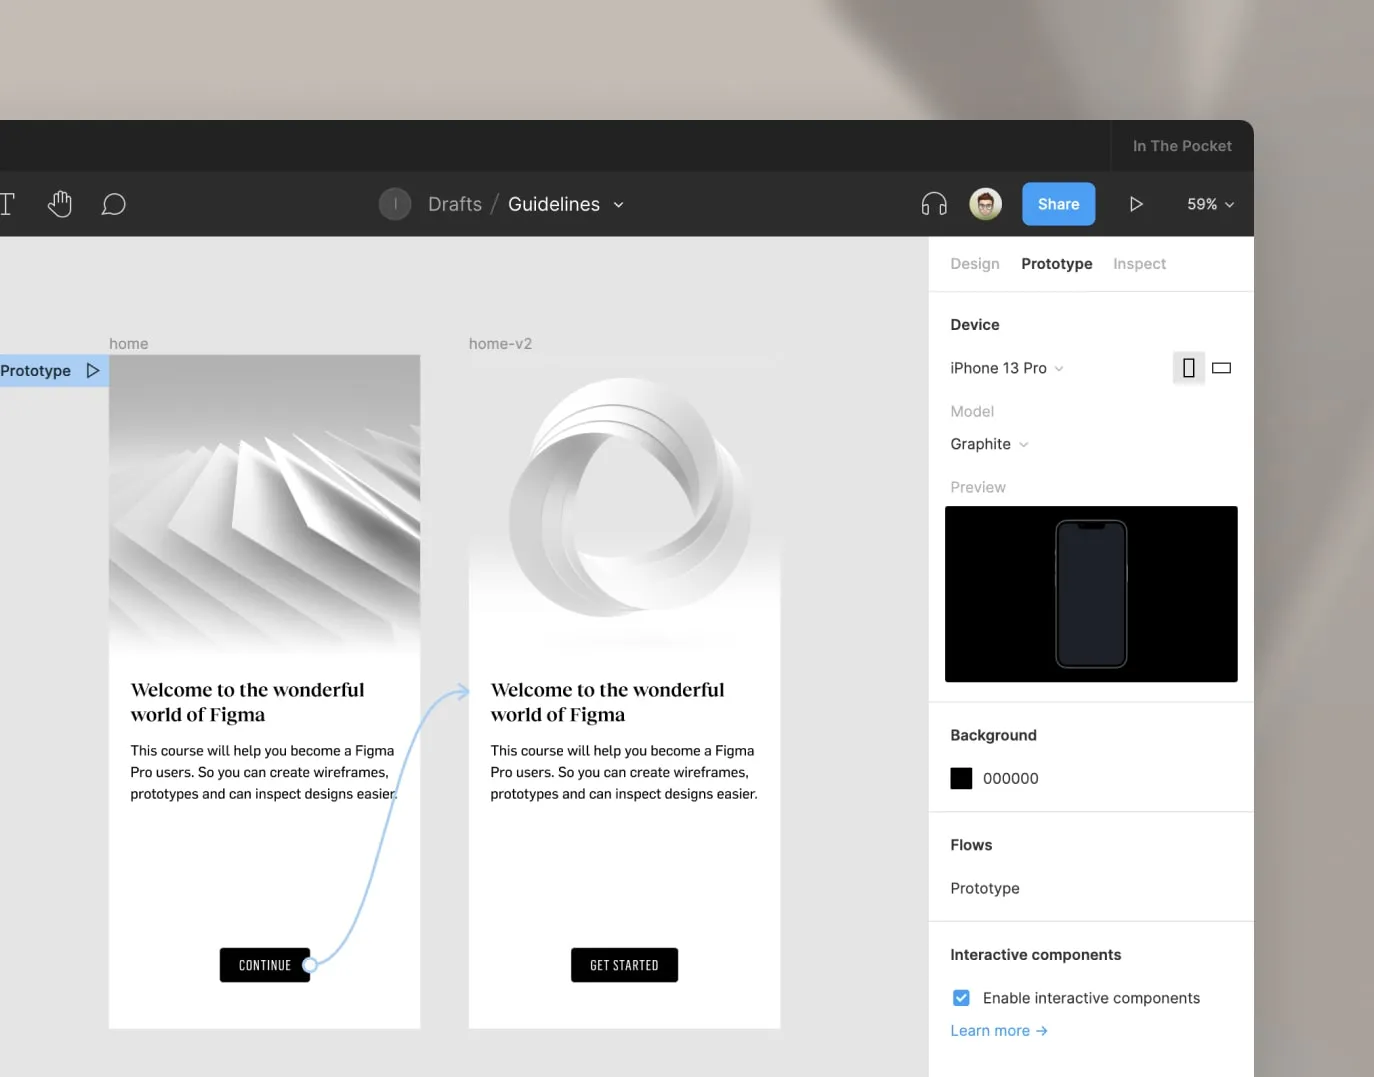
Select an element on the screen and you will see a small circle on the right side. Click and drag it to the element you want to link. You will now see an arrow connecting the 2 elements. You now have options to change the interaction (Click, drag, while hovering, key, ...), how it will react (Navigate to, scroll, open link, go back, ...) and what animation is used.
Continue doing this until all interactions you want to add are linked.
Prototype starting point
By default, Figma will set the first frame you created an interaction from as your starting point. You can change this by dragging the Flow starting point indicator.
You can also set additional starting points by selecting a frame, going to Prototype and clicking + next to the Flow starting point.
This way you can create multiple flows in 1 prototype, you can also add additional information about the flow.
Prototype settings
You have some options when creating a prototype. You can select a device type, set the background, reorder the flows and enable/disable interactive components.
Interactive components are micro-interactions between components. Example: a hover state for a button.
The settings are linked to the page, so if you have multiple prototypes in 1 file, you will have to adjust the settings for each page.
Preview a prototype
Click the play icon on the page of your prototype. This will open a new tab where you can view your prototype.
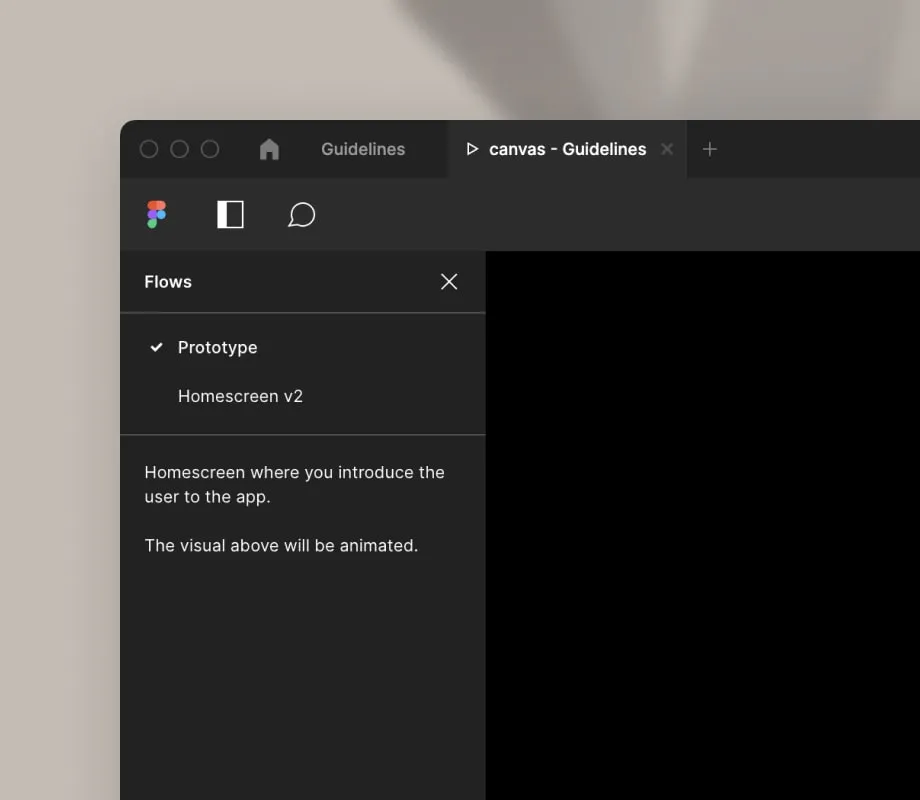
Switch between Flows
You can view all your flows in the sidebar so you can easily switch between them. You also see the description, this can help the viewer when they need some extra context about the flow.
Options
You have some options in the prototyping view.
- You can set the scaling to full size, fit or fill.
- Show comments: only available when there are comments on your prototype.
- Show hotspot hints on click: this option is useful to view all links in the prototype. Make sure to disable this when doing a usability test, because this might affect the results.
- Show sidebar: This shows/hides the sidebar with all Flows
- Show Figma UI: You can hide all UI, this is also useful for usability testing. A user will see the prototype as a website without seeing any of the Figma interface.

Useful shortcut
Press R on your keyboard when in a prototype to quickly restart it.